Getting started with Fit Finder is as simple as adding a few lines of code to your shop’s product and confirmation pages. To make matters even easier, we offer two different methods of adding the code to your pages. With direct-link integration, we provide you with links that you paste into your existing site code. If you prefer not to touch your site’s code, we can instead use plug-in integration to add the code via your existing tag manager system— all you have to do is create a new tag and give us edit permission.
easy integration
1.1 Direct-link integration
With direct-link integration, Fit Analytics writes the integration code specifically for your store. Once the integration team has tested the code, we will send you two links, similar to the sample links below, to add to your site pages:
Examplelink to be added to each of your shop’s product pages:<script type="text/javascript" async src="//integrations.fitanalytics.com/shop/this_is_just_an_example/pdp.js"></script>Examplelink to be added to your shop’s confirmation template:<script type="text/javascript" async src="//integrations.fitanalytics.com/shop/this_is_just_an_example/orderconfirmation.js"></script>
That’s it— Fit Analytics will be activated on your shop from the moment the links we will share with you are deployed.
2.1 Google Tag Manager
You can simplify the integration by using Google Tag Manager. Integration of Fit Finder via Google Tag Manager (GTM) consists of a few simple steps:
- Sign in to your Google Tag Manager account https://www.google.com/tagmanager/web/
- Select your account, then click the 3 vertical dots on the right side
- Select "User Management" from the menu

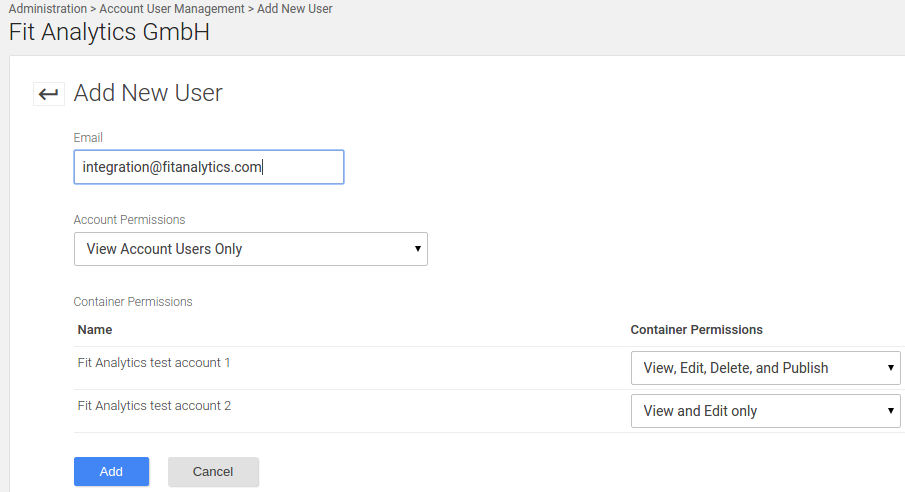
- "Account User Management" menu should open, click "New"
- Insert the following information:
- Email: integration@fitanalytics.com
- <your_account_name> Account Permissions: “View Account Users Only”
- <your_account_name> Container Permissions: For the relevant container select: “View and Edit” or “View, Edit, Delete and Publish”
- Click the "Add" button (please see image below)
- You’re done! The Fit Analytics integration team will do the rest.
Notes:
- Permissions
- If you select View, Edit, Delete and Publish in step 5, the Fit Analytics Integration team will be able to seamlessly publish Fit Finder on your website. No additional set up work from you is required.
- If you select View and Edit in step 5, the Fit Analytics Integration team will contact you once the integration is done and ask you to publish Fit Finder on your website.
- Control
-
You are in control! Under the newly created tag (Fit Analytics) you will be able to see the integration code and control the firing/blocking rules and adjust them as you wish.
- Across the board integration
-
For a successful and seamless integration, your Google Tag Manager should be deployed on all of your website's pages. You can find your GTM container code under Admin -> Install Google Tag Manager.
2.2 Google Tag Manager installation
In case your website does not have Google Tag Manager (GTM) installed yet and you would like to install it, please follow the steps below:
- Go to: http://www.google.com/tagmanager/

- Click the "Sign up now" button.
- Insert your existing Google account details or create a new account. Once you're done and logged in you will be directed to the next page:
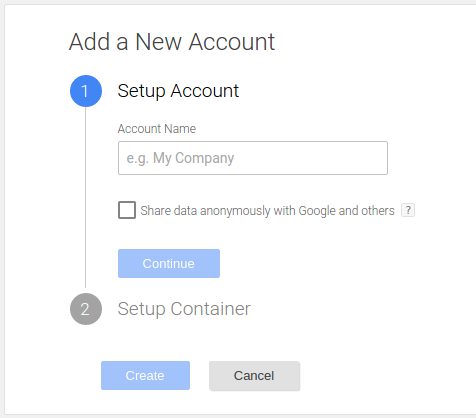
- Name your account and click the “Continue” button.
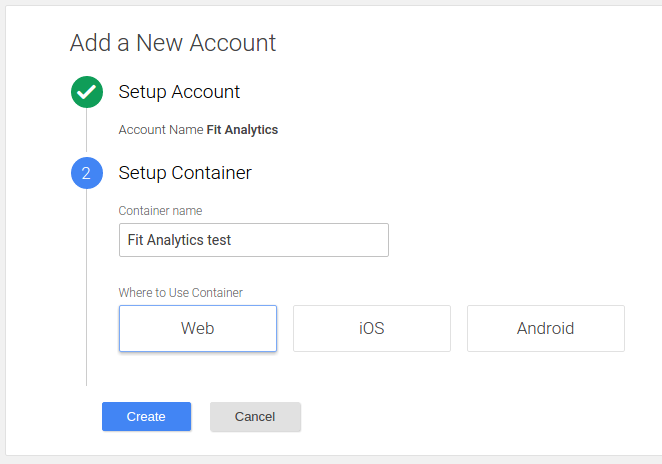
- Name your container, select where to use the container, and click “Create”
- Read Google Tag Manager Terms of Service Agreement and click the “Yes” button.
- The following pop-up should be displayed:
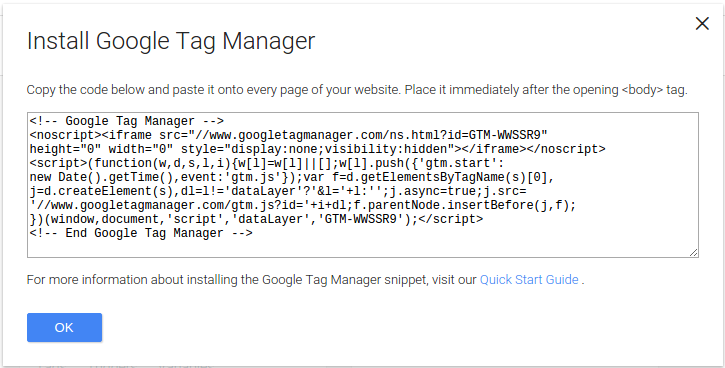
- Copy the code and paste it onto every page of your website right after opening the
<body>tag. - That’s it! You installed GTM on your website! - Please continue with the steps described in 2.1. Google Tag Manager
Notes:
You are able to view and edit your container and account setting under Admin section.
2.5 Shopware
Integration of Fit Finder via Shopware is done by using a GTM (Google Tag Manager) extension, and consists of a few simple steps:
( *Please note: Although the integration is done by using a GTM plug in, registration of GTM is still required in order to receive your custom GTM code.)
Downloading the plugin:
The GTM plugin for Shopware 4.x can be installed in all Shopware versions starting from 4.0.
To get started, please purchase and download the plugin via this link: http://store.shopware.com/en/blmedia01140/google-tag-manager.html .
For plug in support please contact the producer at: info@shopbrains.deUploading the plugin to your shop:
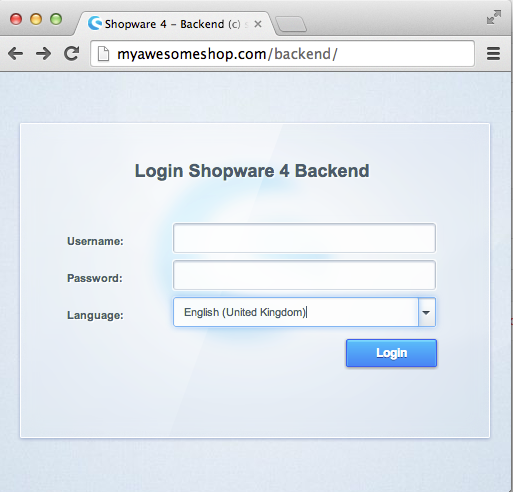
To upload the GTM plugin to your Shopware shop's backend, follow these steps:Log in to your Shopware 4 admin backend.
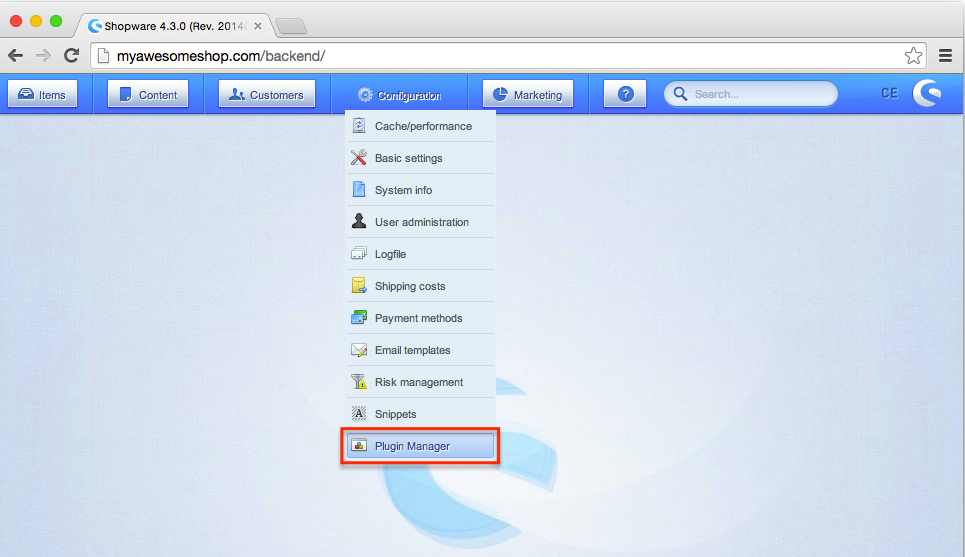
In the main menu click Configuration -> Plugin Manager.
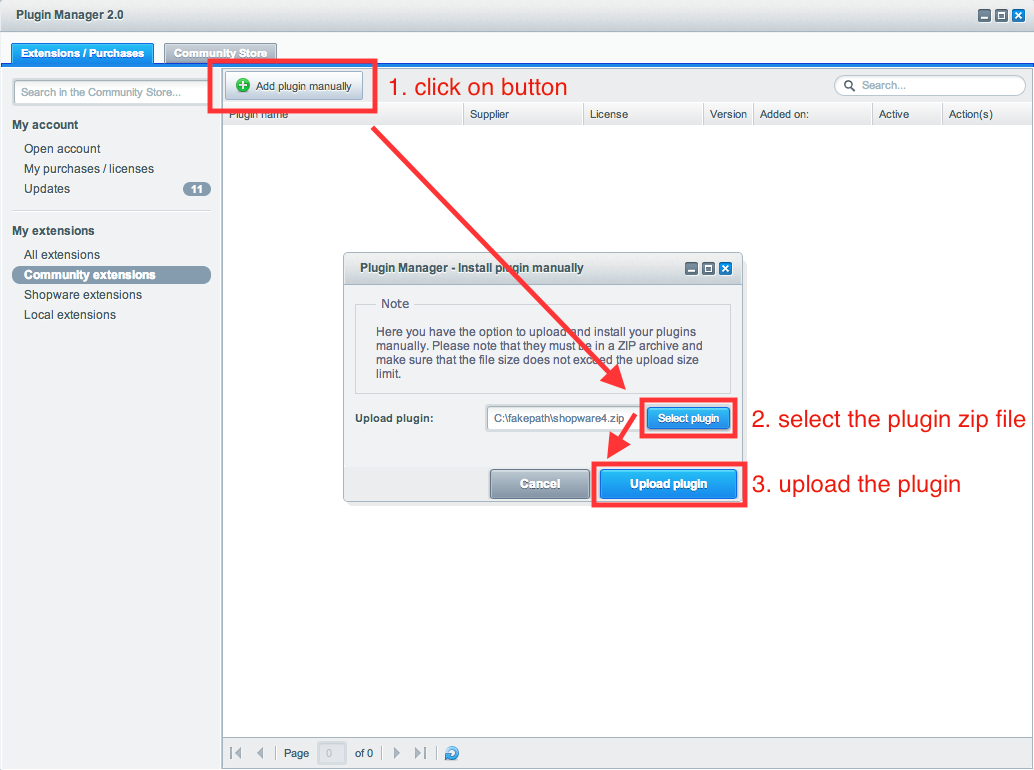
On your Plugin Manager page, select “+ Add plugin manually”.
A new window will appear. Click Select plugin, select the zip file you just downloaded, and click the “Upload plugin” button.
The GTM Plugin is now being uploaded to your Shopware 4 shop.
Registrating / Installing GTM:
Please install GTM using our guide and copy your custom code as demonstrated in 2.2 Google Tag Manager installation, at step 8, to your clipboard.Activating the GTM plugin:
After the GTM plugin has been uploaded successfully, a message “Plugin was uploaded successfully” will appear.
The GTM plugin should now be listed in the Plugin Manager as inactive.
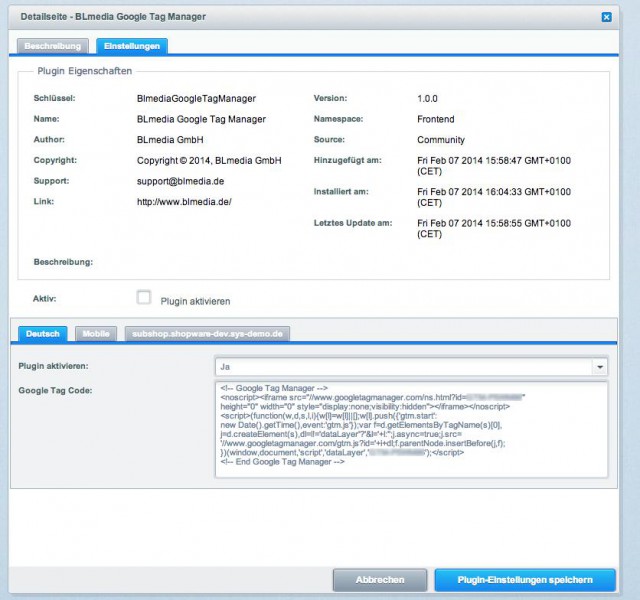
To activate the plugin, follow these steps:- Open module settings: click on the green "+" button on the right, under Actions(s) column.
- A configuration section will open. Check the checkbox before “Activate plugin” to activate the GTM Plugin.
- Paste your Google Tag Code (from step 3):
Congratulations! You installed and activated the GTM plugin in you Shopware account. The next step is now to add our integration account: integration@fitanalytics.com to your GTM.
Please continue with the steps described in 2.1. Google Tag Manager.
Questions?
We're happy to help. Send your question to support@fitanalytics.com.